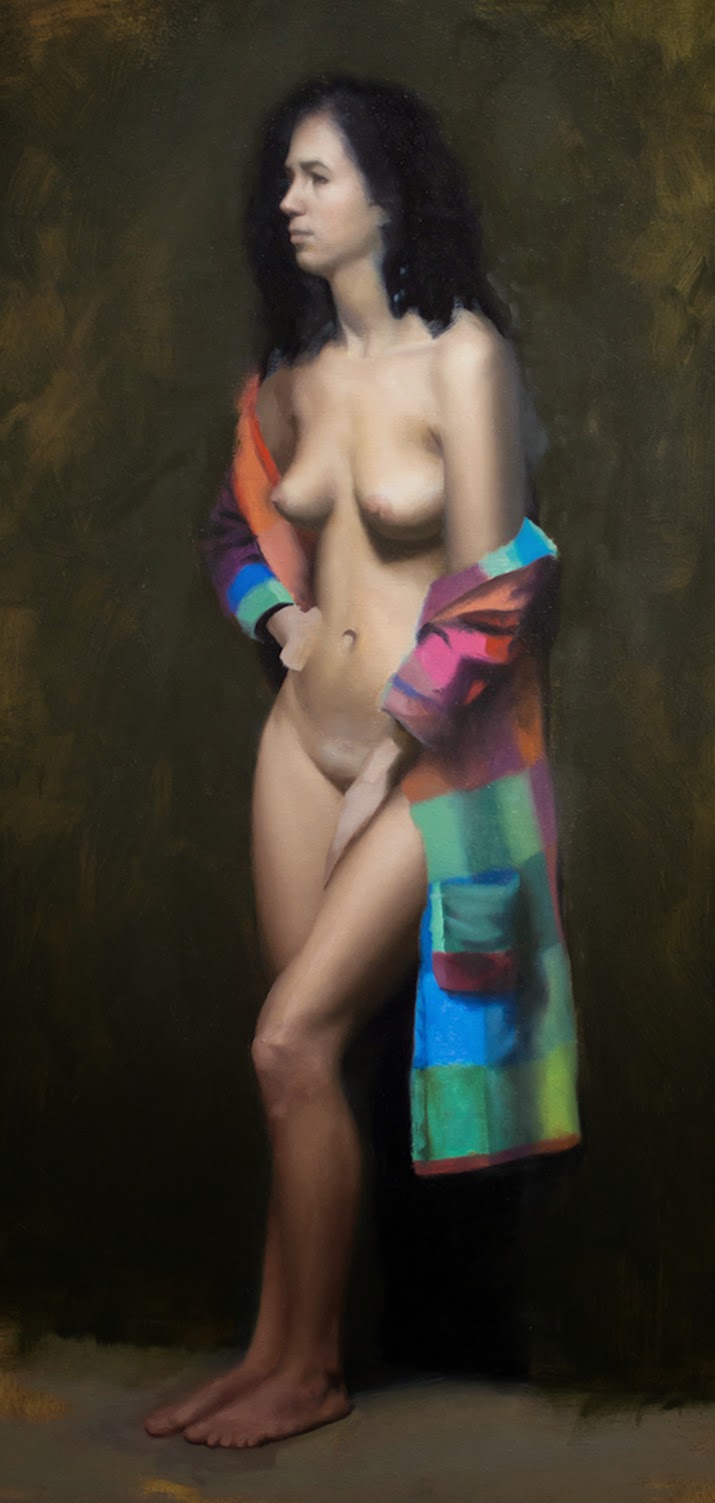
Below I have posted a step by step process of this painting.
But first, a GIF =)
GIF
Day 1 - Drawing
I had a total of 24 days, 3 hours per day, to complete the painting.
The first 2 days, I spent on my drawing
I was trying to get proportions right, and some articulation of the outline.
I'm not being overly concerned with the exact articulation however.
I know that when I put more paint on I will lose a lot of the information anyway.
Also I'm using a fairly big brush to paint with, and a kneaded eraser to make finer lines.
No medium.
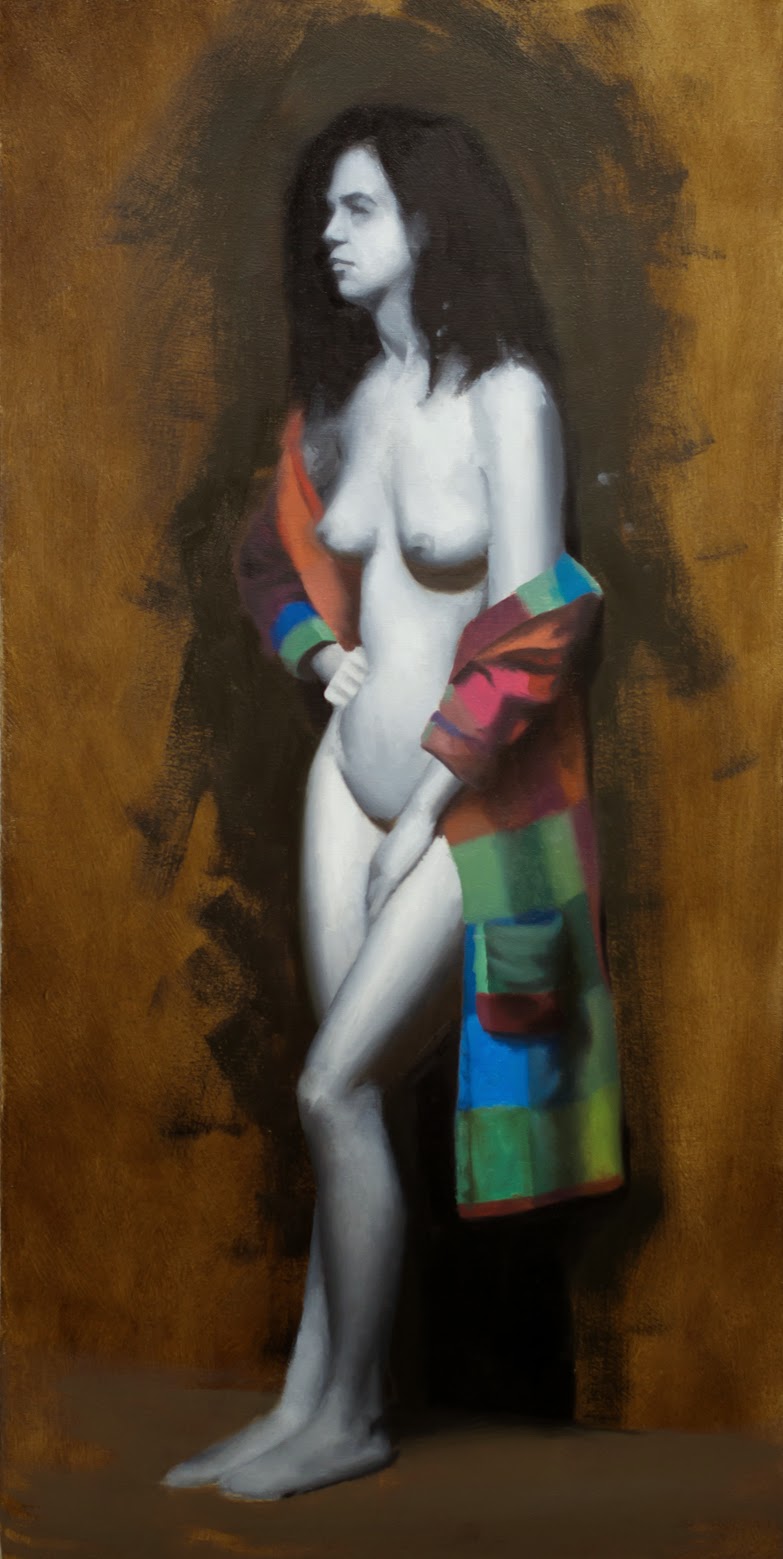
Day 3 - Dead coloring and big form modelling
Very simple big form modelling, no details.
I don't put in fingers, or other smaller individual shapes.I'm just trying to make things look round and 3D.
I'm just using black and white for the figure.
And some other colors in the background, at this stage I just want something there, to be able to make better judgments.
Day 7 - 1st painting
It's been another 4 days, and I have finished what we call 1st painting.
The purpose of a 1st painting is to add the shapes and details that were missing in the big form modelling step.
It is not supposed to look finished though. It can be very rough.
And not every single detail is added, that is for a later rendering stage.
And don't worry, I know she looks mad, I'm working on it ;)
Day 8 - Color lay in
Simple color lay in. Details disappear for fingers and such.First the details disappeared when we added the big form modelling, then the details disappeared again when we did the 1st painting, and then AGAIN when we added the color on top.
So you see what I mean by not having to be too bothered with details in the beginning :)
Its painted fairly opaquely, but the purpose of having a lighter underpainting is that it will shine through.
Head was repainted with grisaille and was therefore not colored.
I also changed proportions of the feet. Things are not set in stone.
Day 10 - 2nd painted chest
So after we have finished filling in the whole figure with color, with similar values as the underpainting, its time to start 2nd painting.
The purpose of 2nd painting is to render things until finished.
You add more information than was there in the 1st painting, you would add details like creases in the skin, hue/value/chroma shifts and just being more particular with what colors you use.
You want the skin too look smooth, but not too smooth, skin has a certain texture, and if you make it too smooth it will look artificial like plastic, and you cant have it too rough either.
I spend about one day on each part of the figure, so far I spent one day on the head, and one day for the torso.
Everything will get repainted 2 or 3 times.
But I still want it to be as close to a finish as possible on my first try.
Day 12 - 2nd painted chest and leg
Two days has passed, and I have painted the leg and knee.
But I also repainted the chest..
Some areas are sunken in, they look grey, its just the way oil paint dries, especially the darker parts.
Just oil it in and it regains its original value.
Don't put too much oil on though, use a mixture of oil and mineral spirits and use a makeup sponge.
Day 16 - 2nd painted arm, leg, feet
4 days, 4 new things painted.
Arm, upper leg, lower leg and feet
Day 18 - 2nd painted hands, repainted chest
Did the hands as well as repainted the chest area. 3rd time now, if anyone is keeping track ;)
Now I have actually 2nd painted the whole figure. But its not over yet!
Since i have another week on this, I will address some areas I don't feel satisfied with.
Day 21 - Repainted the tummy, arm and added hair details
Day 24 - Last day!
Last 3 days I spent repainting both upper legs as well as the hand.
So there was quite a lot of repainting during the whole process, some things were painted twice while some three times.
If you count the big form modelling and 1st painting as well, we are up to 5 layers!Hope you enjoyed seeing this process!
And just for fun, and because I like making GIF's here's the whole process in 11 seconds =)


No comments:
Post a Comment